04 March, 2021 | Novidades

If you work in design – whether you are an interior designer, tile professional, bathroom remodeler, (the list goes on…) – you know that your customers are looking to you to help them understand what your products and your design ideas will look like in their home.
In fact, most homeowners have a really hard time imagining what a new space will look like at the beginning of a project. How many times have you heard “I just can’t see it…”?
That’s why it’s so important to be able to show your customers what the final result will be, before you even get started.
But what kind of technology can you use to help your customers visualize a design project?
That’s where 3D digital rendering comes in. In this article, we’ll explain the basics of rendering: from what it is, to how it can help your business, to how to get started (we’ll even answer whether it’s easier or harder than you think!). Follow along below for some quick answers to your most pressing rendering questions.
Rendering is the process of using software to generate an image from a computer model of a design.
A computer can take in data from a 3D model or scene, data such as polygons, materials, and lighting, and perform calculations that generate a visual output, such as a photorealistic image.
Some of the most common applications for rendering include video games, TV special effects, architectural design, and design visualization.
For example, rendering applied to interior design can take a 3D model of a room built on a computer and produce high-quality photorealistic images (think photographs) of the space. If you’re working on a bathroom remodel, it’s like being able to travel to the future after the work has already been finished, take a picture of the newly installed bathroom, and come back to show it to your client. It’s almost like magic.
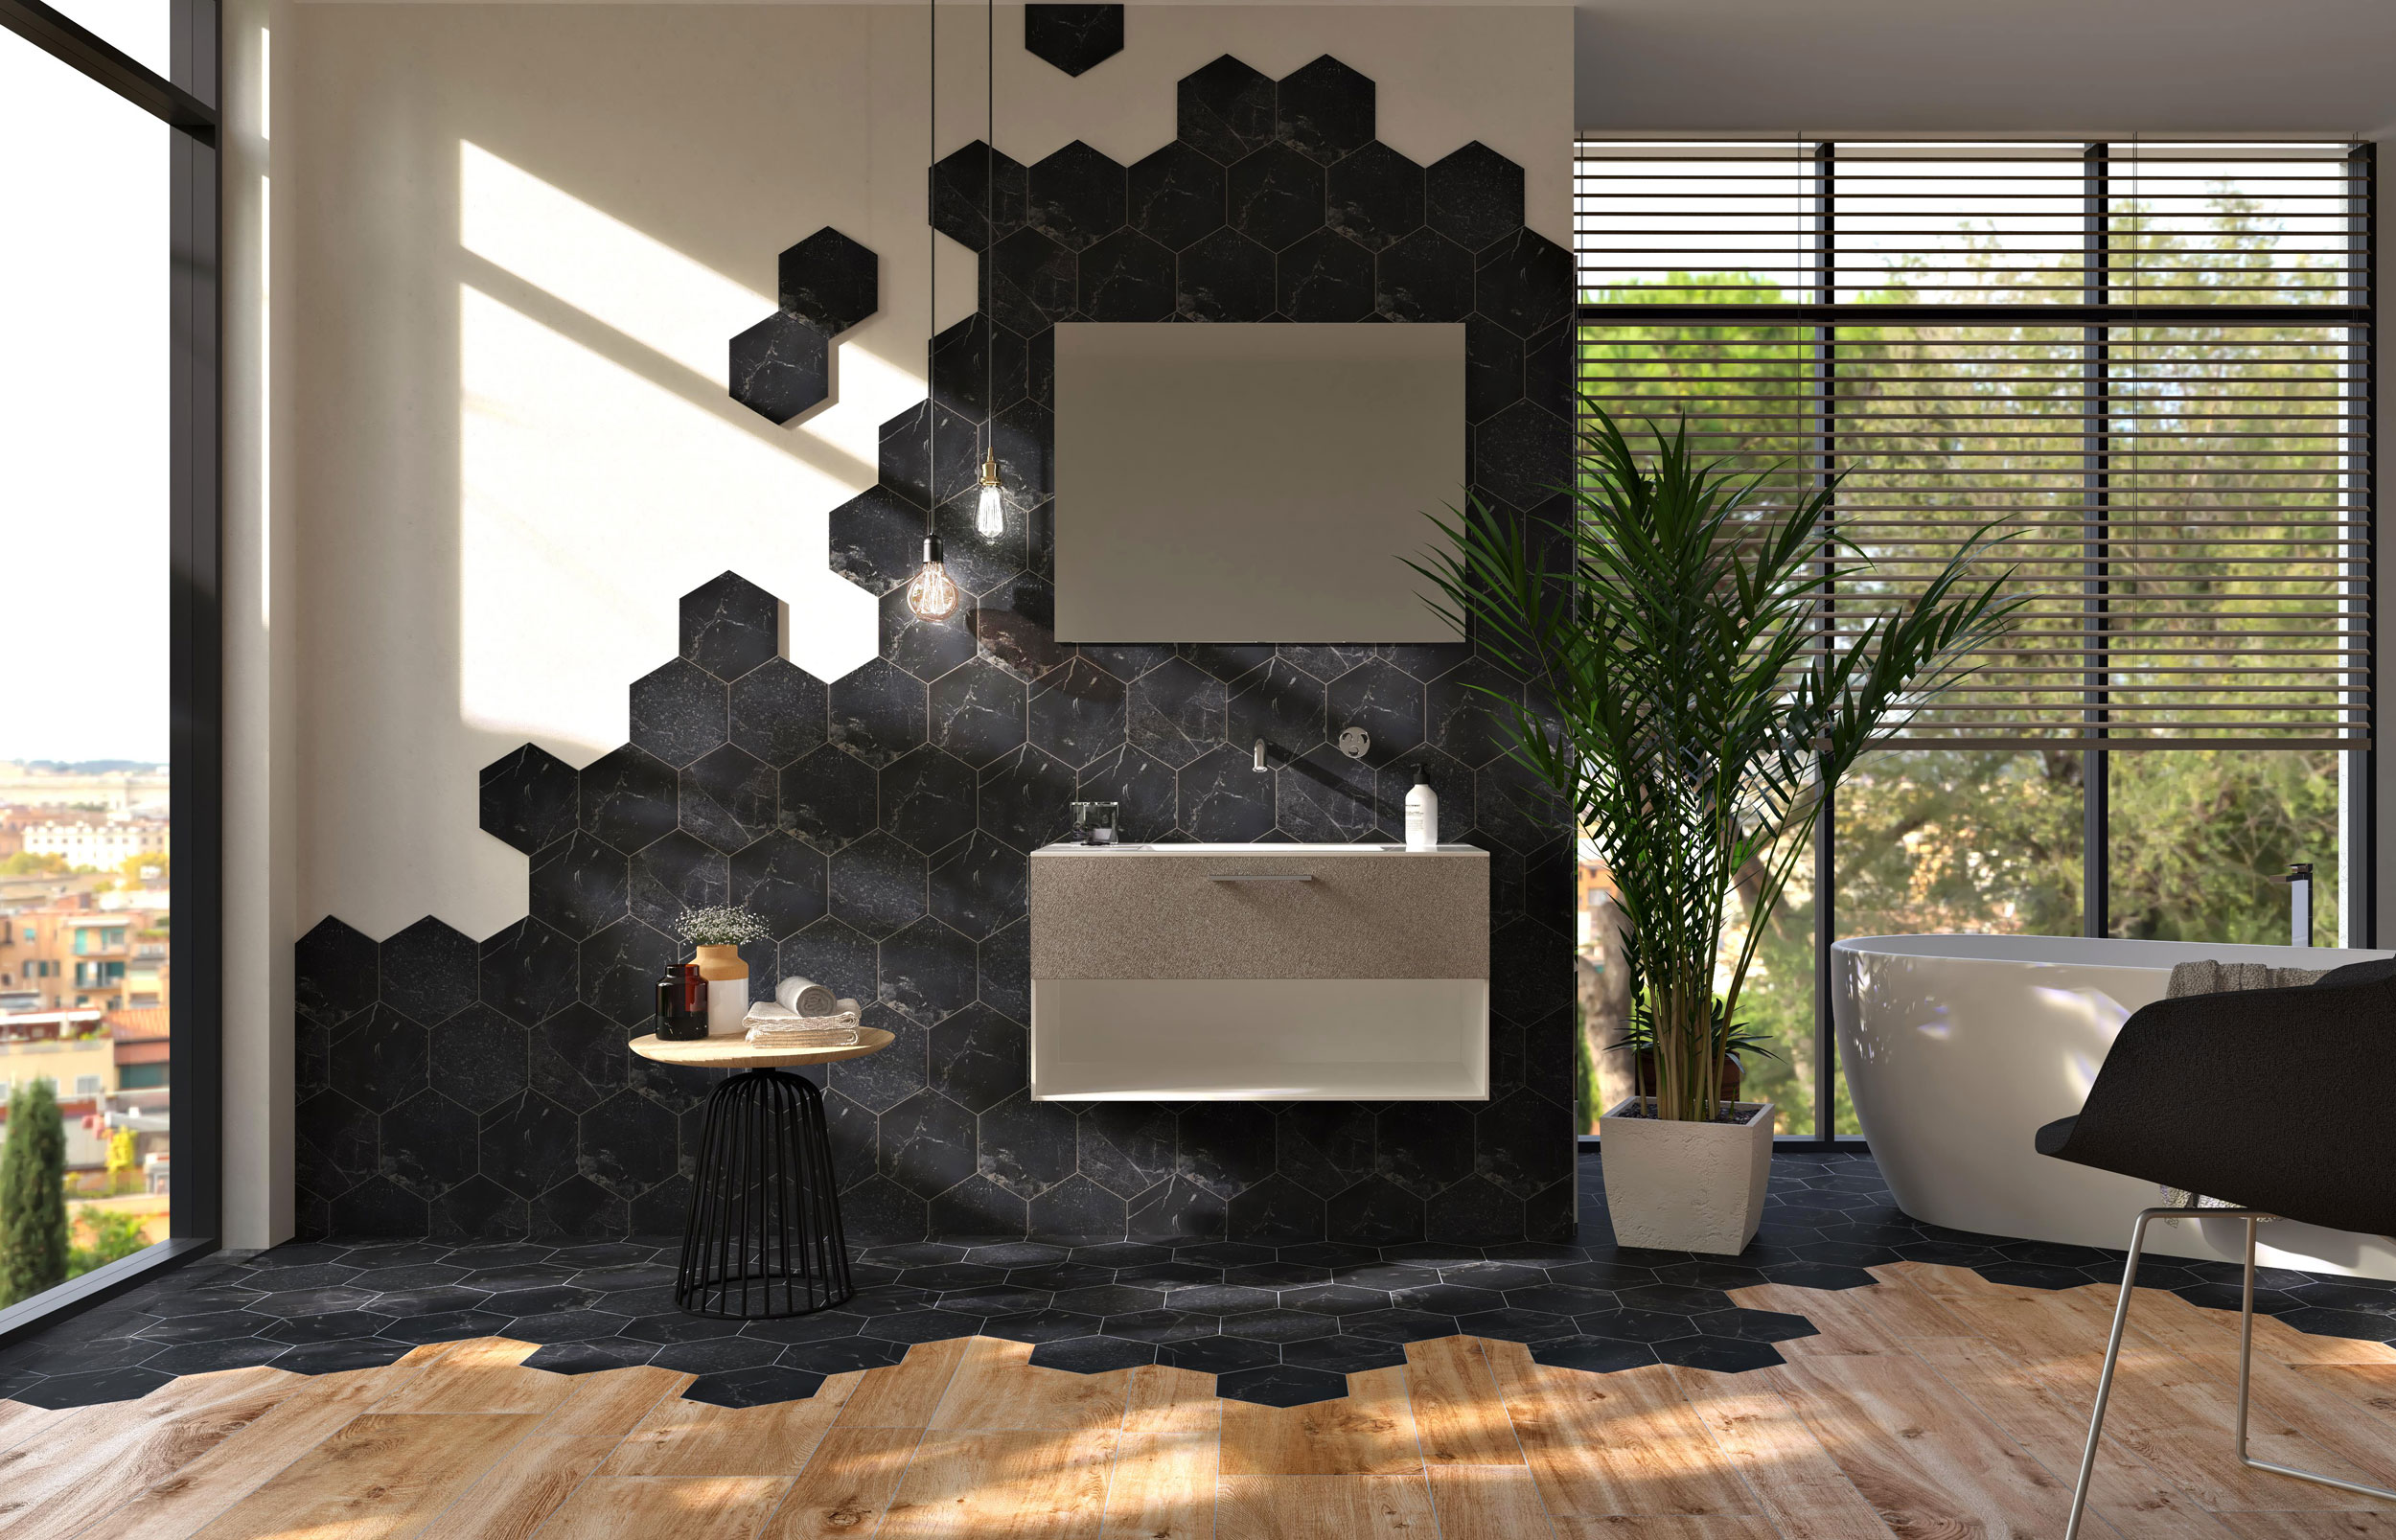
Using renderings to increase visualization in your business can have huge benefits for you and your customers.
If you can communicate visually with your customers, they will be much more likely to make a purchase and are even likelier to be satisfied with their final decision.
In fact, if you can show them exactly what a specific product will look like in their home, they’ll be confident in their decision, knowing at the onset what their project will look like upon completion. In short, using rendering for visualization will lead to more confidence, more satisfaction, and less regret.
Not only that, renderings allow for a personalized experience for each individual customer. Each customer will be able to literally see their finished project during the planning phase, before spending any time (or money!) on installation.
And depending on how you implement renderings into your workflow, they can help in a number of ways; as a powerful marketing tool to attract new customers, as a sales tool to close the final deal, and as a project management tool in the planning phase of any design project.
After all, a picture is worth a thousand words…
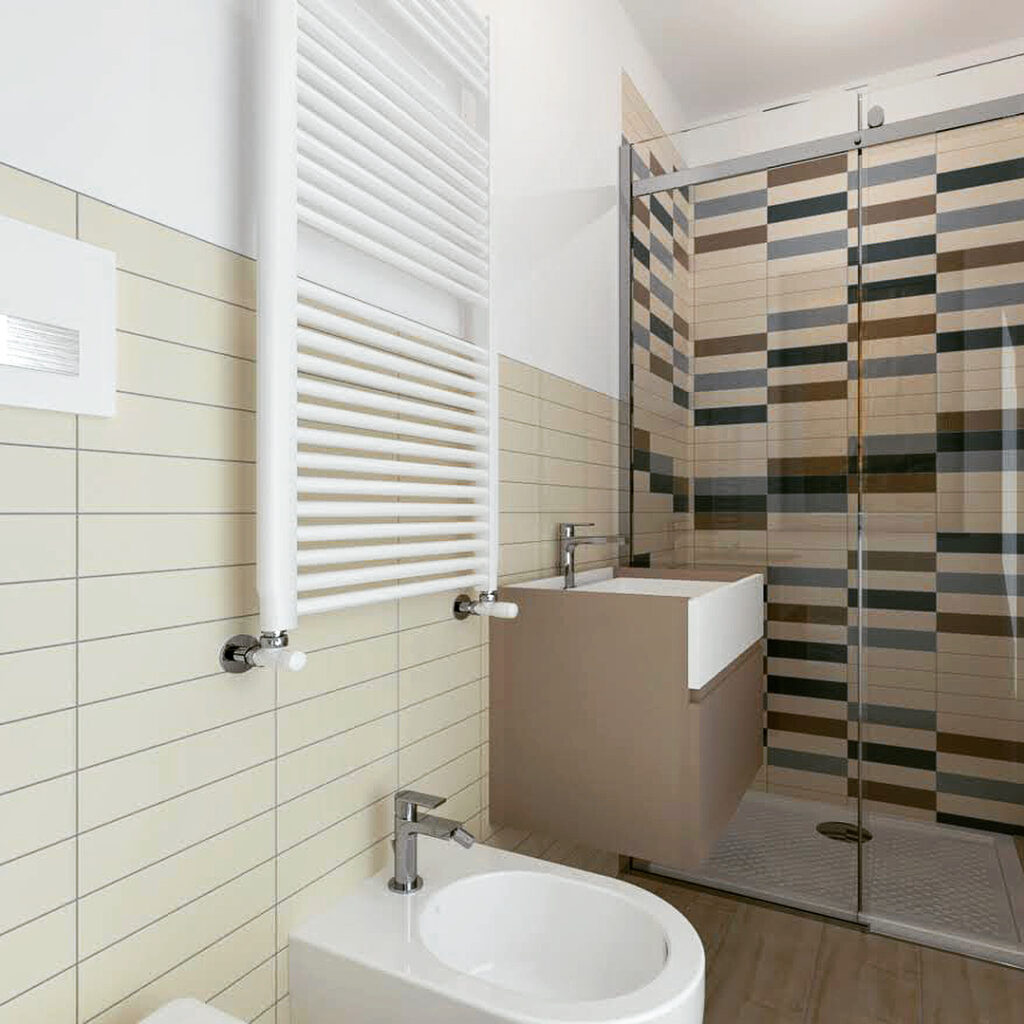
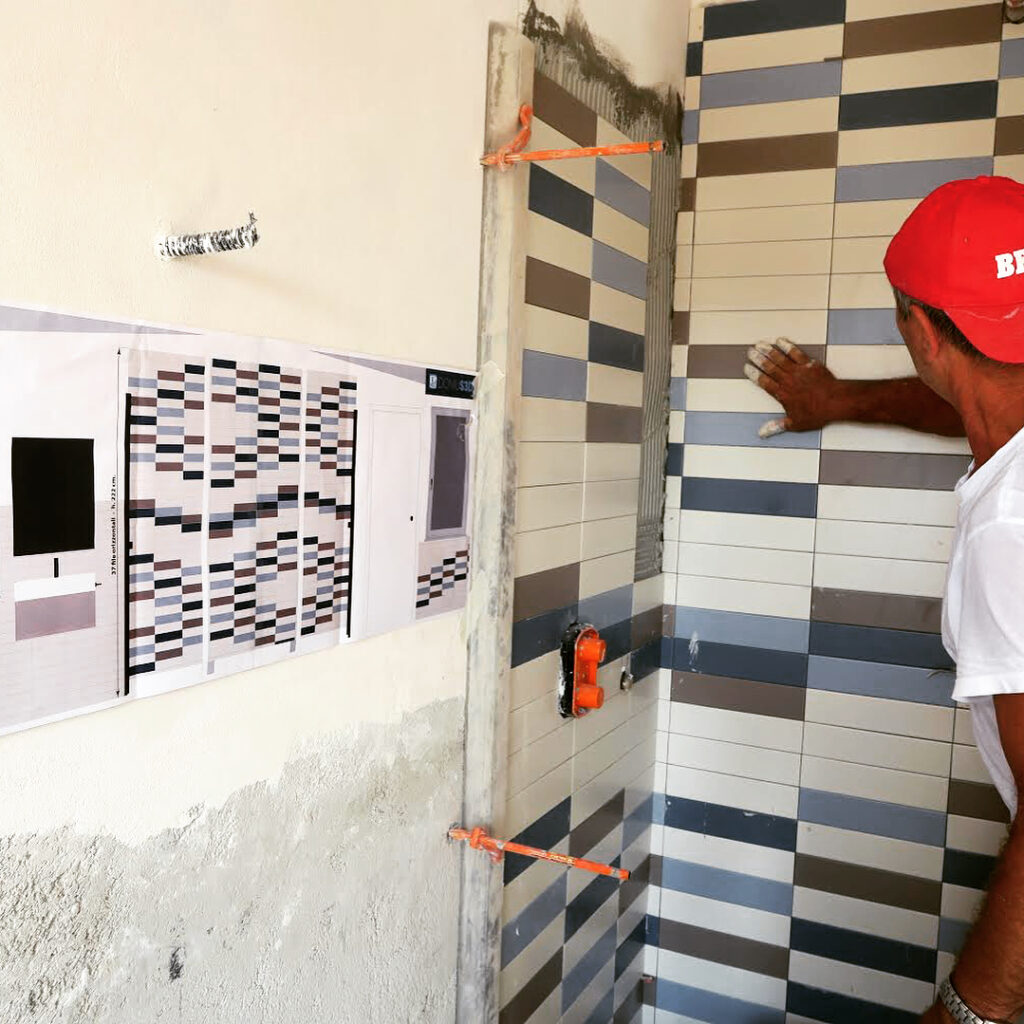
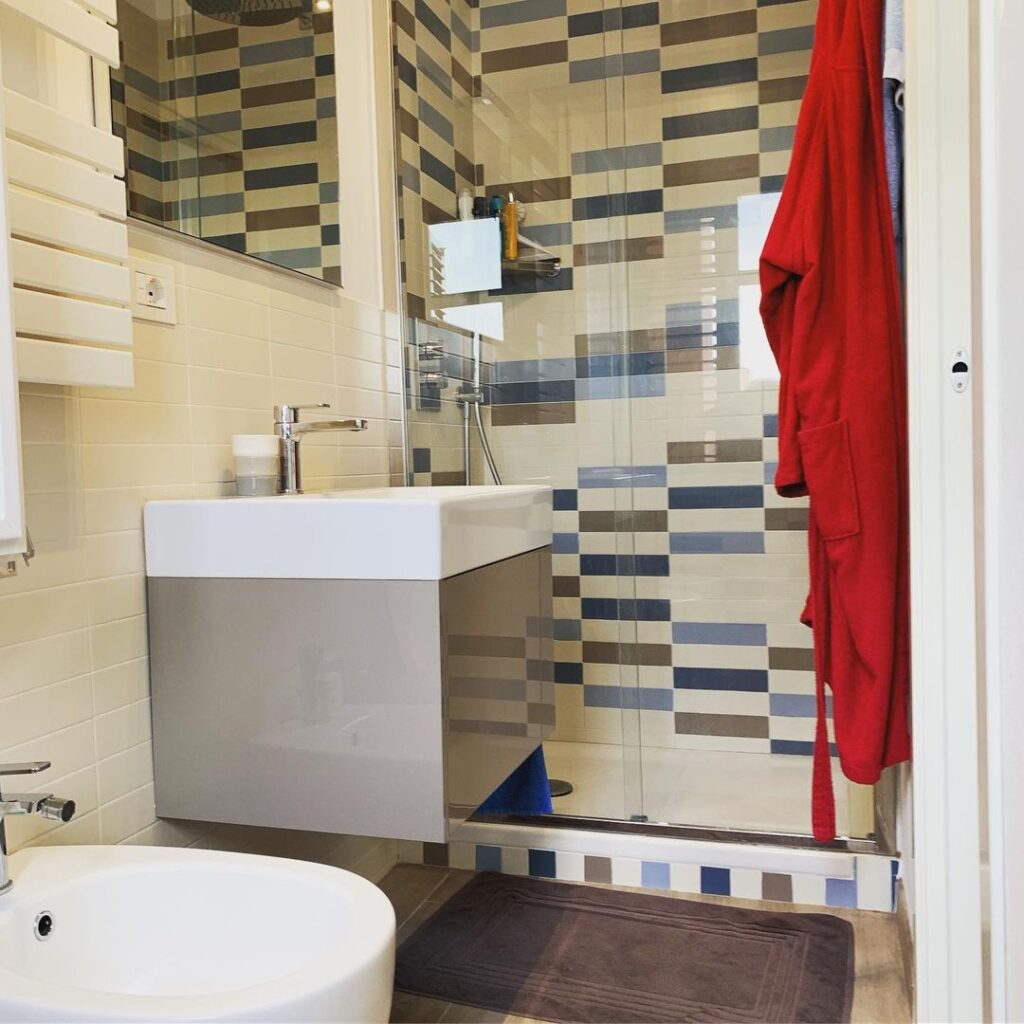
Ok, so maybe rendering seems cool and like it could help your business, but do you have the time and know-how to get started? You might immediately think “no way”, but don’t be so sure…with the right tools, rendering can be fast and easy.
Sure, there are professionals that spend their careers creating visual effects for video games and movies, but for you to create a photorealistic image of a room scene requires no training or background in graphic design. The key is to have the right program to get started.
Let’s come back to you. If you already provide design services for your customers and are not using renderings, it may be time to look into upgrading your technology from the faithful pen and paper to a more sophisticated visualization tool. You can easily build custom interior design projects on the computer in those same 10 minutes that it takes you to sketch out a design by hand.
After you set up a project on your computer, just launch the rendering, sit back, and let your computer do the work.
Even if you don’t offer design services, you can still use digital tools to help you sell your products or services.
By using renderings, you will make it easier for customers that are on the fence to go with you or your products.
So, are you ready to try out rendering?
If you don’t have any background in graphic design or photo-editing, look for a program that has everything built-in so it’s easier to get started. You want something that will let you build a full design from start to finish, from drawing a floorplan, to inserting furniture and flooring, to changing wall color, and that will generate your renderings for you in just a few clicks.
Of course, we recommend looking into DomuS3D if you work in interior design, flooring, or tile, as it’s an all-in-one, easy to use, program. There are, however, lots of other programs out there that may fit the bill, as well; test out as many programs as you can to find the one that works for you and your specific needs.
So, step 1: download a free trial of whichever program you find and start testing it out.
If you decide to test out DomuS3D, remember that once it’s installed on your computer, you can render right within the program (there’s a button called “start rendering”) and save the result as a JPEG.
Create Multiple Renderings
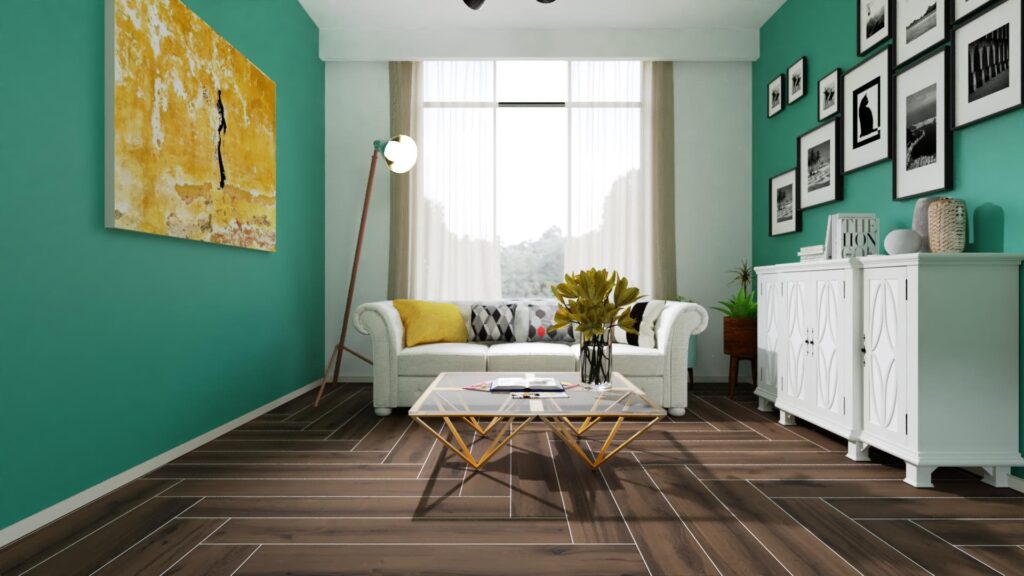
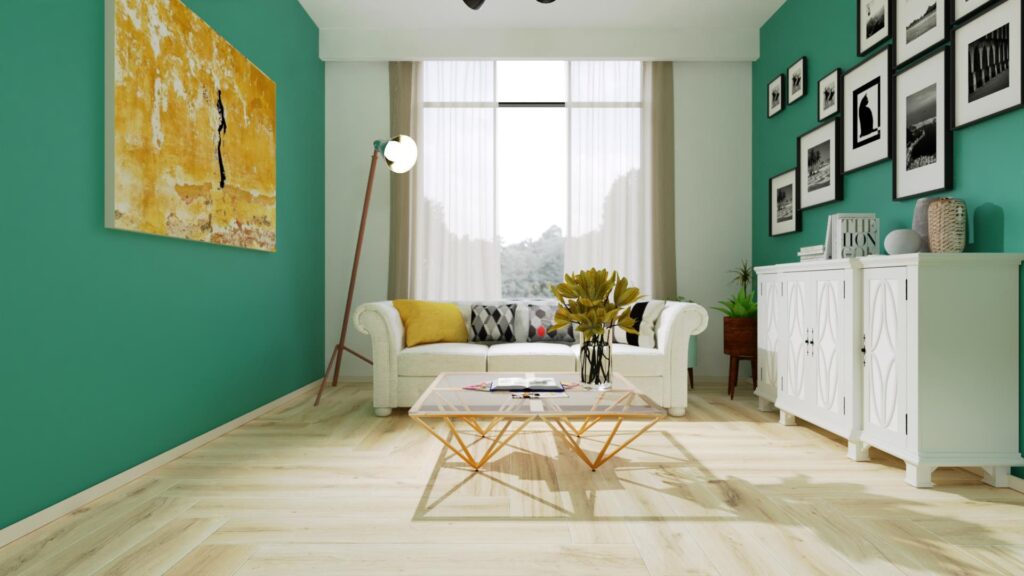
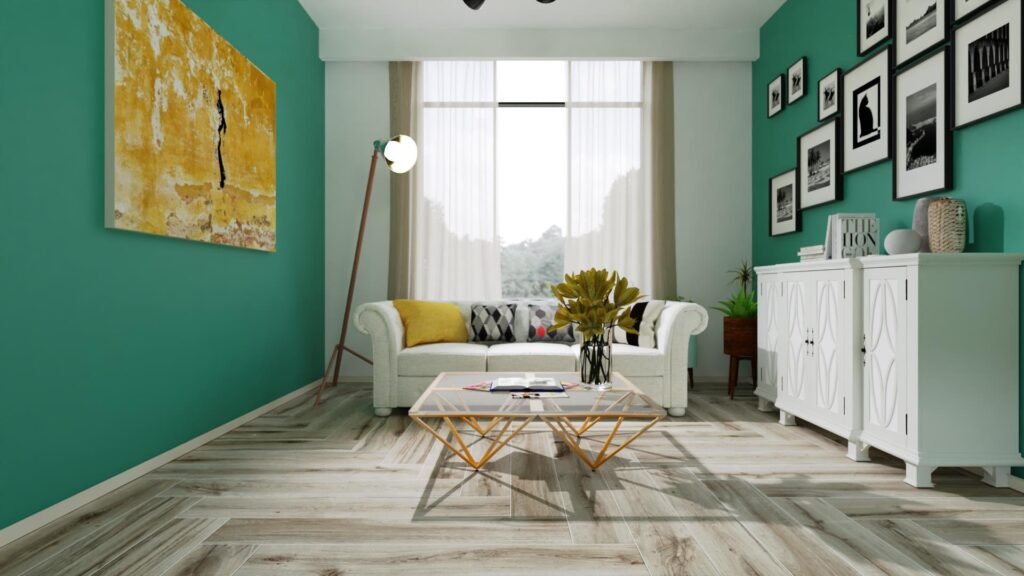
Here’s your first tip as you get started with customers: if you are working with a customer on a design project, you can quickly show your him or her a few different design options by generating multiple renderings.
Send your customer home with a few samples and, in the meantime, prepare a few digital renderings with those same samples. When you’re done, your customer will be able to quickly visualize those different products in the same room scene and compare the final effect.
Adjusting Lighting
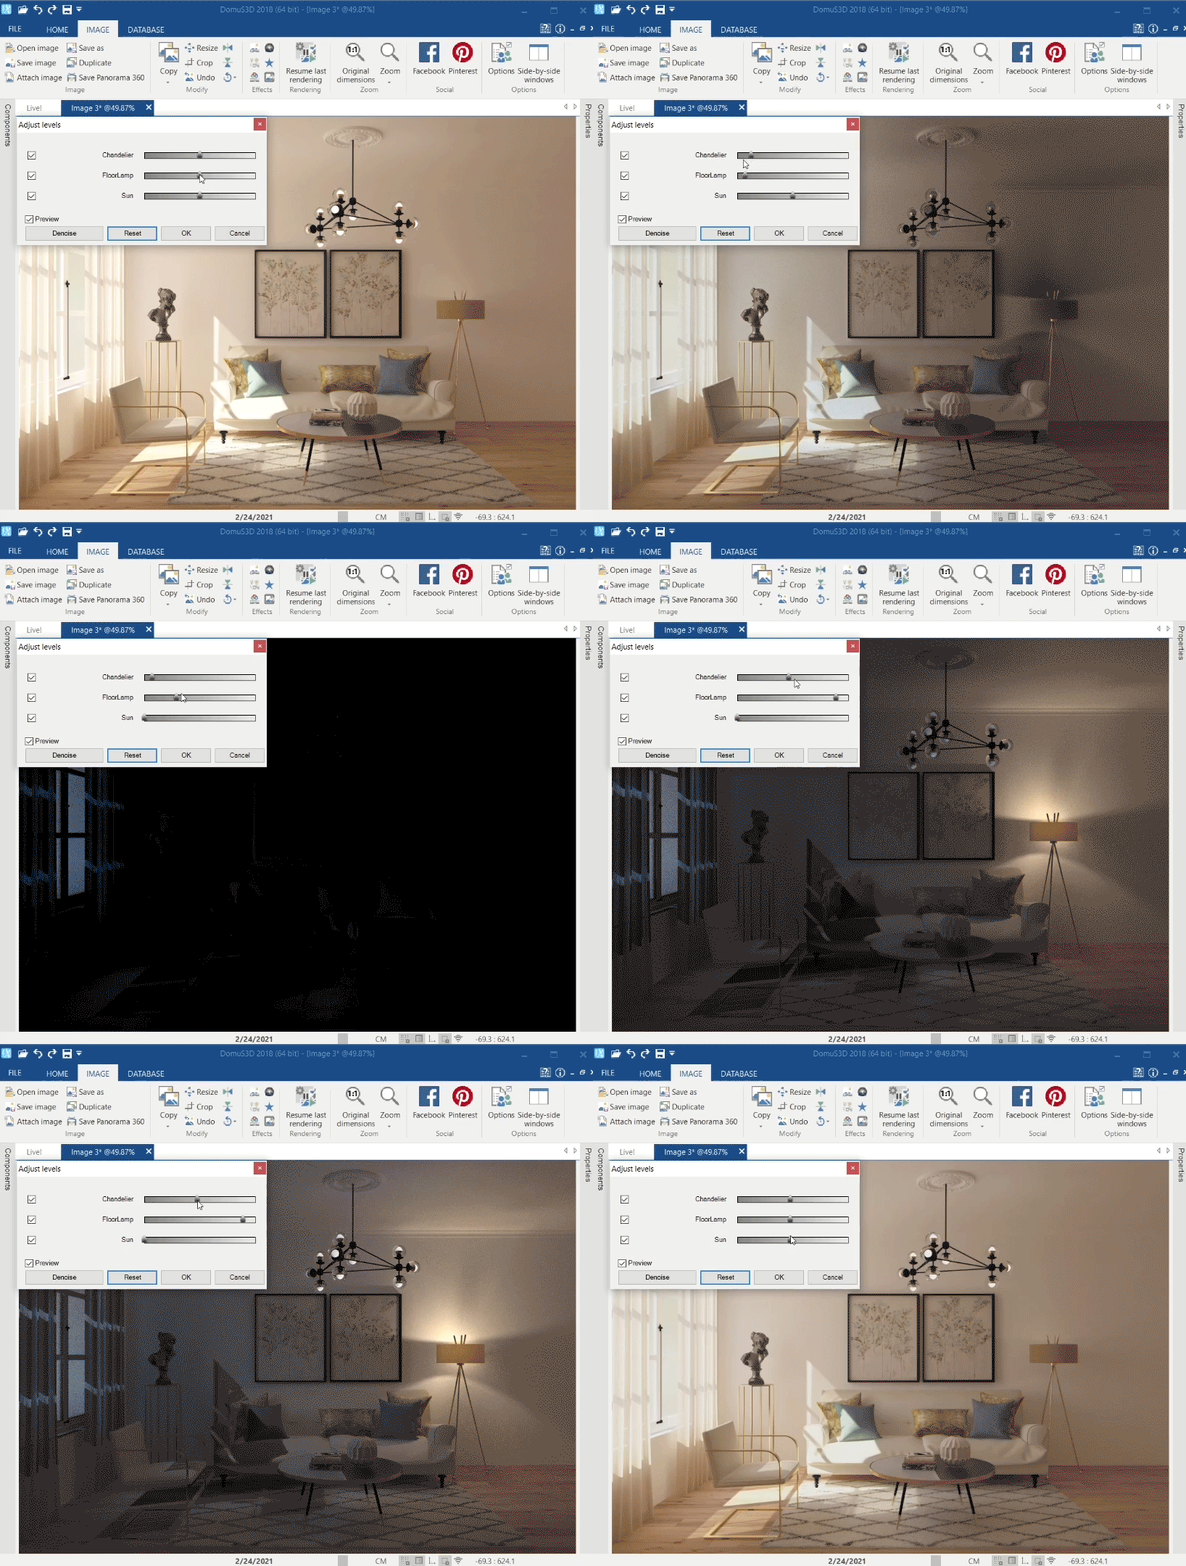
Lighting can get pretty complicated in renderings, so start off simple. All DomuS3D projects, for example, have a default light source in the center of the room and, if you have any windows in your room, you’ll get the outdoor light coming into your room, as well.
For your first few renderings, leave those default lights alone (DomuS3D will automatically calculate the correct exposure value so your room isn’t too dark or too bright). As you get the hang of rendering, you can start playing around with lighting to create the desired final effect.
As you become more advanced in rendering, you’ll learn more about how materials are represented and how they interact with light within your renderings. You’ll learn how to set your optimal viewpoint (follow the rule of thirds) and how to tweak your images in post-processing, too (but that’s for next time!).
As technology continues to give us new possibilities for our business, we need to learn to leverage available tools to enhance consumer experience and drive sales.
Using visualization technology to help your customers see finished projects is a powerful way to add value to your products and services, create a competitive edge for your business, and increase your customer satisfaction.
Getting started with rendering is much easier than it looks. With the right tools and the right resources, you can create your first rendering in a matter of minutes and learn to generate renderings quickly and efficiently.
Ready to get started? If you’re interested in learning more about DomuS3D to see if it can be a good fit for your business, send us a message. We’d be happy to learn more about your business to see if rendering and visualization software could be beneficial for the work that you do.
Happy Rendering!